Docker Ubuntu Base Image

Ubuntu base image for docker container.
The docker-ubuntu-base_image base on ubuntu with runit to be able to run different process inside the container. It is using default tools already include in runit for logs, cron, etc (svlogd, crond, pstree, sv,chpst). it support tags (16.04, 17.04, 18.04 and 19.04)
This image will be use to builds others image for other projects. It will be build periodical to make sure that any security update is include with the last version from ubuntu repository.
Using docker-ubuntu-base_image as base image
Getting started
The image is called mjoseportfolio/ubuntu-bi, and is available on the Docker registry.
FROM mjoseportfolio/ubuntu-bi

# Use baseimage-docker's init system.
CMD ["/sbin/my_init"]

# ...put your own build instructions here...
Using different ubuntu release
The docker-baseimage is base on ubuntu image , you can define what version of ubuntu you want to used by using tags
  # for Ubuntu Disco Dingo
  FROM  quantumobject/docker-baseimage:version-19.04
  # for ubuntu Bionic Beaver
  FROM quantumobject/docker-baseimage:version-18.04
  # for ubuntu Zesty Zapus
  FROM quantumobject/docker-baseimage:version-17.04
  # for ubuntu Xenial Xerus
  FROM quantumobject/docker-baseimage:version-16.04
Adding additional daemons
You can add additional daemons (e.g. your own app) to the image by creating runit entries. You only have to write a small shell script which runs your daemon, and runit will keep it up and running for you, restarting it when it crashes, etc.
The shell script must be called run, must be executable, and is to be placed in the directory /etc/service/<NAME>.
Here's an example showing you how a memcached server runit entry can be made.
#!/bin/sh
### In memcached.sh (make sure this file is chmod +x):
# `chpst -u memcache` runs the given command as the user `memcache`.
# If you omit that part, the command will be run as root.
exec 2>&1 chpst -u memcache /usr/bin/memcached

### In Dockerfile:
RUN mkdir /etc/service/memcached
ADD memcached.sh /etc/service/memcached/run
RUN chmod +x /etc/service/memcached/run
Note that the shell script must run the daemon without letting it daemonize/fork it. Usually, daemons provide a command line flag or a config file option for that.
Running scripts during container startup
The docker-baseimage init system, /sbin/my_init, runs the following scripts during startup, in the following order:
- All executable scripts in
/etc/my_init.d, if this directory exists. The scripts are run in lexicographic order. - The script
/etc/rc.local, if this file exists.
All scripts must exit correctly, e.g. with exit code 0. If any script exits with a non-zero exit code, the booting will fail.
The following example shows how you can add a startup script. This script simply logs the time of boot to the file /tmp/boottime.txt.
#!/bin/sh
### In logtime.sh (make sure this file is chmod +x):
date > /tmp/boottime.txt

### In Dockerfile:
RUN mkdir -p /etc/my_init.d
ADD logtime.sh /etc/my_init.d/logtime.sh
Environment variables
If you use /sbin/my_init as the main container command, then any environment variables set with docker run --env or with the ENV command in the Dockerfile, will be picked up by my_init. These variables will also be passed to all child processes, including /etc/my_init.d startup scripts, Runit and Runit-managed services. There are however a few caveats you should be aware of:
- Environment variables on Unix are inherited on a per-process basis. This means that it is generally not possible for a child process to change the environment variables of other processes.
- Because of the aforementioned point, there is no good central place for defining environment variables for all applications and services. Debian has the
/etc/environmentfile but it only works in some situations. - Some services change environment variables for child processes. Nginx is one such example: it removes all environment variables unless you explicitly instruct it to retain them through the
envconfiguration option. If you host any applications on Nginx
my_init provides a solution for all these caveats.
Centrally defining your own environment variables
During startup, before running any startup scripts, my_init imports environment variables from the directory /etc/container_environment. This directory contains files who are named after the environment variable names. The file contents contain the environment variable values. This directory is therefore a good place to centrally define your own environment variables, which will be inherited by all startup scripts and Runit services.
For example, here's how you can define an environment variable from your Dockerfile:
RUN echo Apachai Hopachai > /etc/container_environment/MY_NAME
You can verify that it works, as follows:
$ docker run -t -i <YOUR_NAME_IMAGE> /sbin/my_init -- bash -l
...
*** Running bash -l...
# echo $MY_NAME
Apachai Hopachai
If you've looked carefully, you'll notice that the 'echo' command actually prints a newline. Why does $MY_NAME not contain a newline then? It's because my_init strips the trailing newline, if any. If you intended on the value having a newline, you should add another newline, like this:
RUN echo -e "Apachai Hopachai\n" > /etc/container_environment/MY_NAME
Environment variable dumps
While the previously mentioned mechanism is good for centrally defining environment variables, it by itself does not prevent services (e.g. Nginx) from changing and resetting environment variables from child processes. However, the my_init mechanism does make it easy for you to query what the original environment variables are.
During startup, right after importing environment variables from /etc/container_environment, my_init will dump all its environment variables (that is, all variables imported from container_environment, as well as all variables it picked up from docker run --env) to the following locations, in the following formats:
/etc/container_environment/etc/container_environment.sh- a dump of the environment variables in Bash format. You can source the file directly from a Bash shell script./etc/container_environment.json- a dump of the environment variables in JSON format.
The multiple formats makes it easy for you to query the original environment variables no matter which language your scripts/apps are written in.
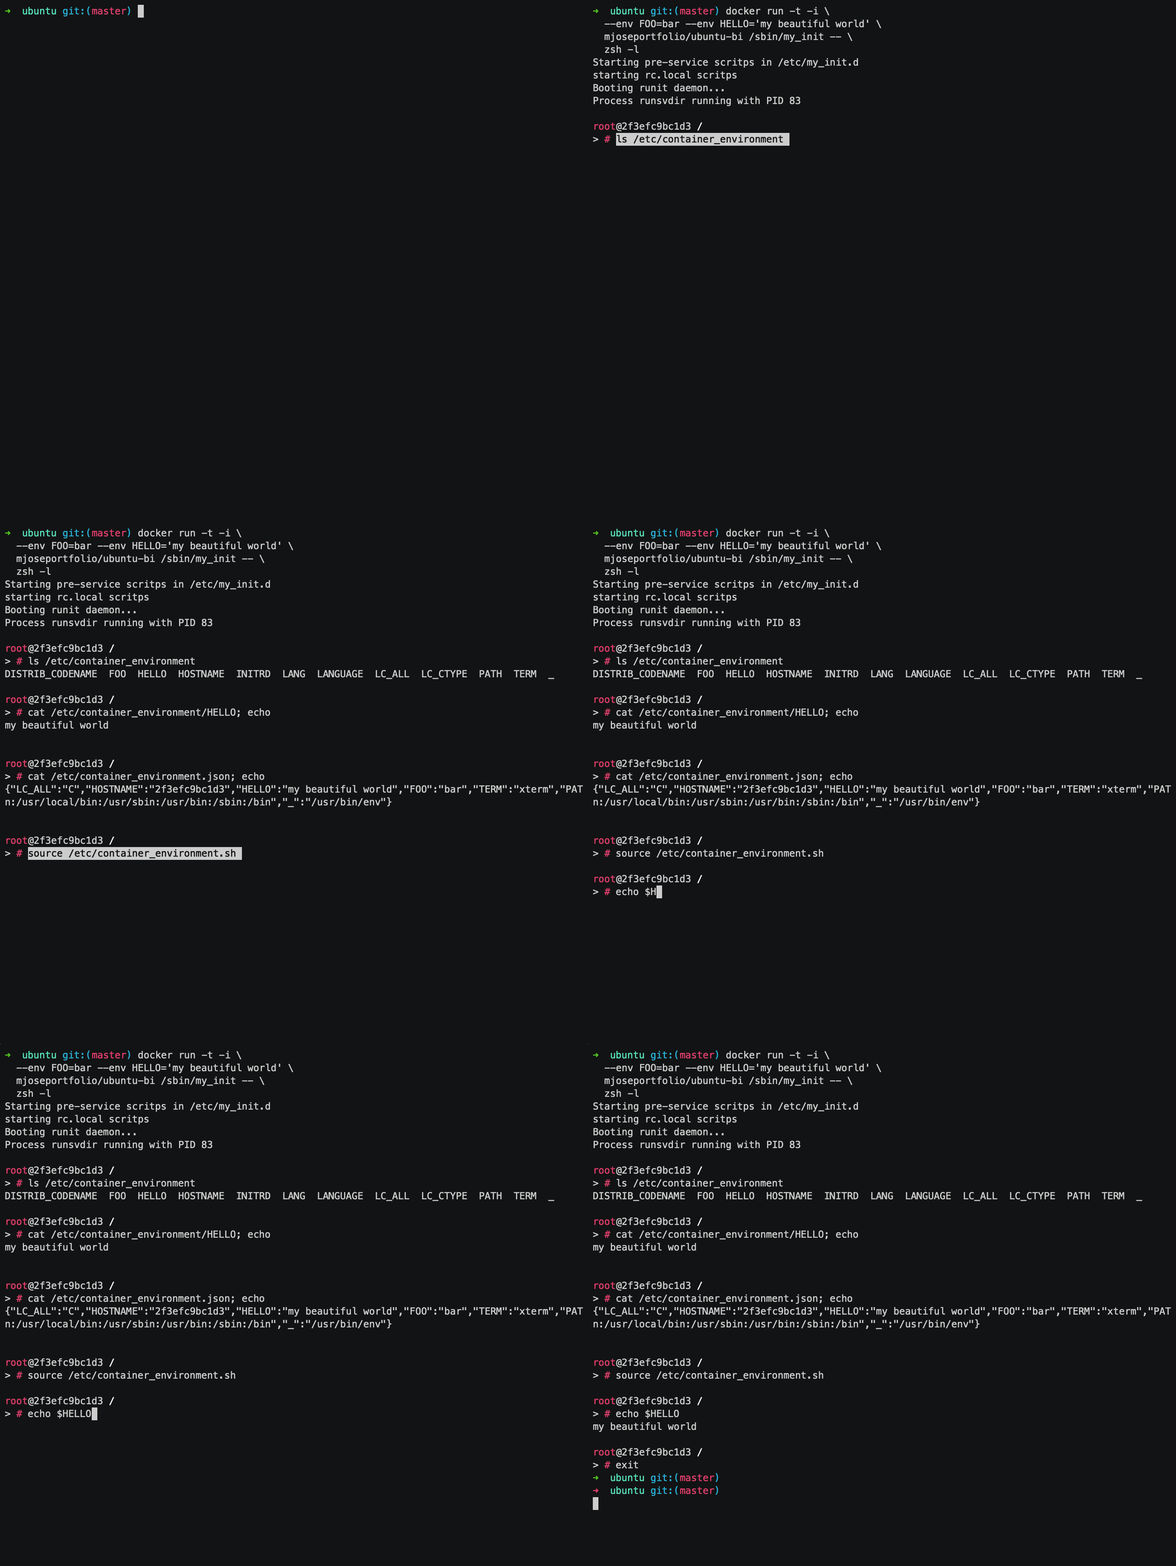
Here is an example shell session showing you how the dumps look like:

Modifying environment variables
It is even possible to modify the environment variables in my_init (and therefore the environment variables in all child processes that are spawned after that point in time), by altering the files in /etc/container_environment. After each time my_init runs a startup script, it resets its own environment variables to the state in /etc/container_environment, and re-dumps the new environment variables to container_environment.sh and container_environment.json.
But note that:
- modifying
container_environment.shandcontainer_environment.jsonhas no effect. - Runit services cannot modify the environment like that.
my_initonly activates changes in/etc/container_environmentwhen running startup scripts.
Security
Because environment variables can potentially contain sensitive information, /etc/container_environment and its Bash and JSON dumps are by default owned by root, and accessible only by the docker_env group (so that any user added this group will have these variables automatically loaded).
If you are sure that your environment variables don't contain sensitive data, then you can also relax the permissions on that directory and those files by making them world-readable:
RUN chmod 755 /etc/container_environment
RUN chmod 644 /etc/container_environment.sh /etc/container_environment.json
Container administration
One of the ideas behind Docker is that containers should be stateless, easily restartable, and behave like a black box. However, you may occasionally encounter situations where you want to login to a container, or to run a command inside a container, for development, inspection and debugging purposes. This section describes how you can administer the container for those purposes.
Running a one-shot command in a new container
Normally, when you want to create a new container in order to run a single command inside it, and immediately exit after the command exits, you invoke Docker like this:
docker run YOUR_IMAGE COMMAND ARGUMENTS...
However the downside of this approach is that the init system is not started. That is, while invoking COMMAND, important daemons such as cron and syslog are not running. Also, orphaned child processes are not properly reaped, because COMMAND is PID 1.
Baseimage-docker provides a facility to run a single one-shot command, while solving all of the aforementioned problems. Run a single command in the following manner:
docker run YOUR_IMAGE /sbin/my_init -- COMMAND ARGUMENTS ...
This will perform the following:
- Runs all system startup files, such as /etc/my_init.d/* and /etc/rc.local.
- Starts all runit services.
- Runs the specified command.
- When the specified command exits, stops all runit services.
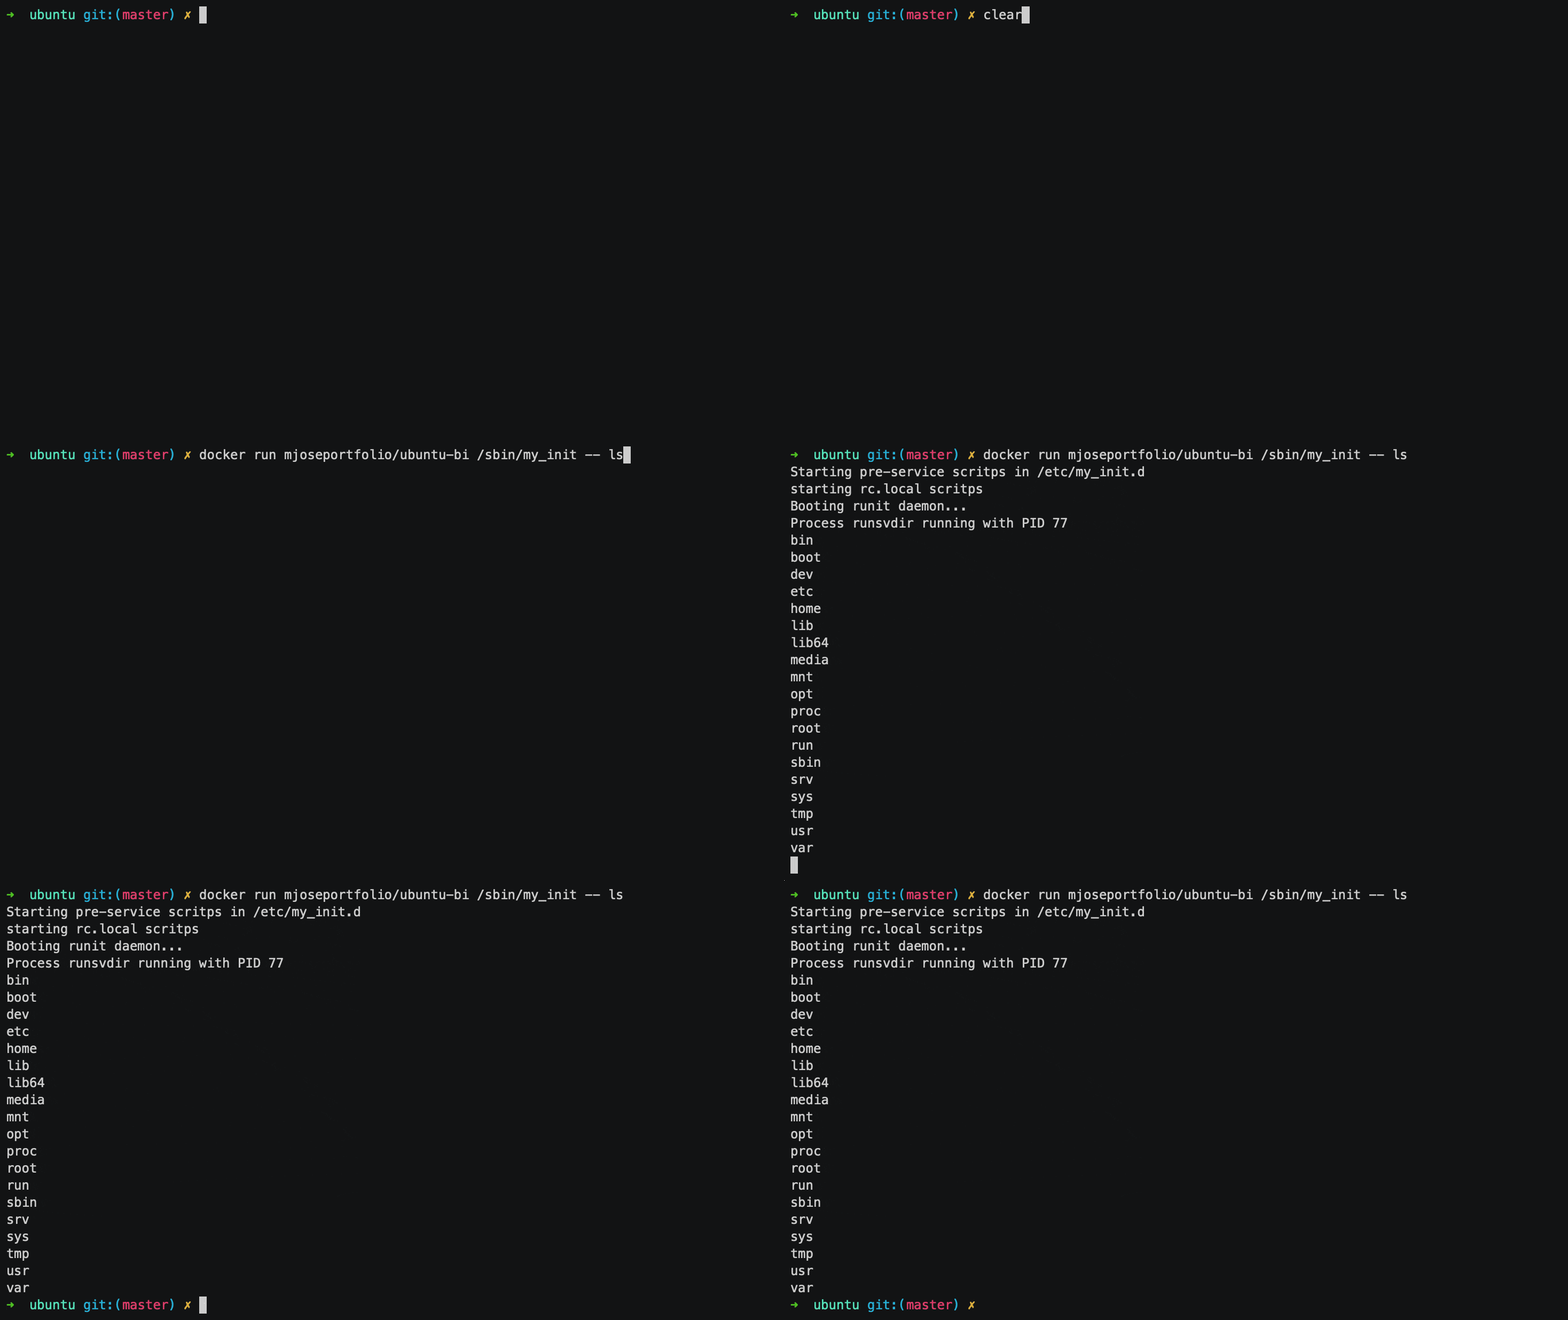
For example:

Perhaps you don't want to run the startup files. You can customize all this by passing arguments to my_init. Invoke docker run YOUR_IMAGE /sbin/my_init --help for more information.
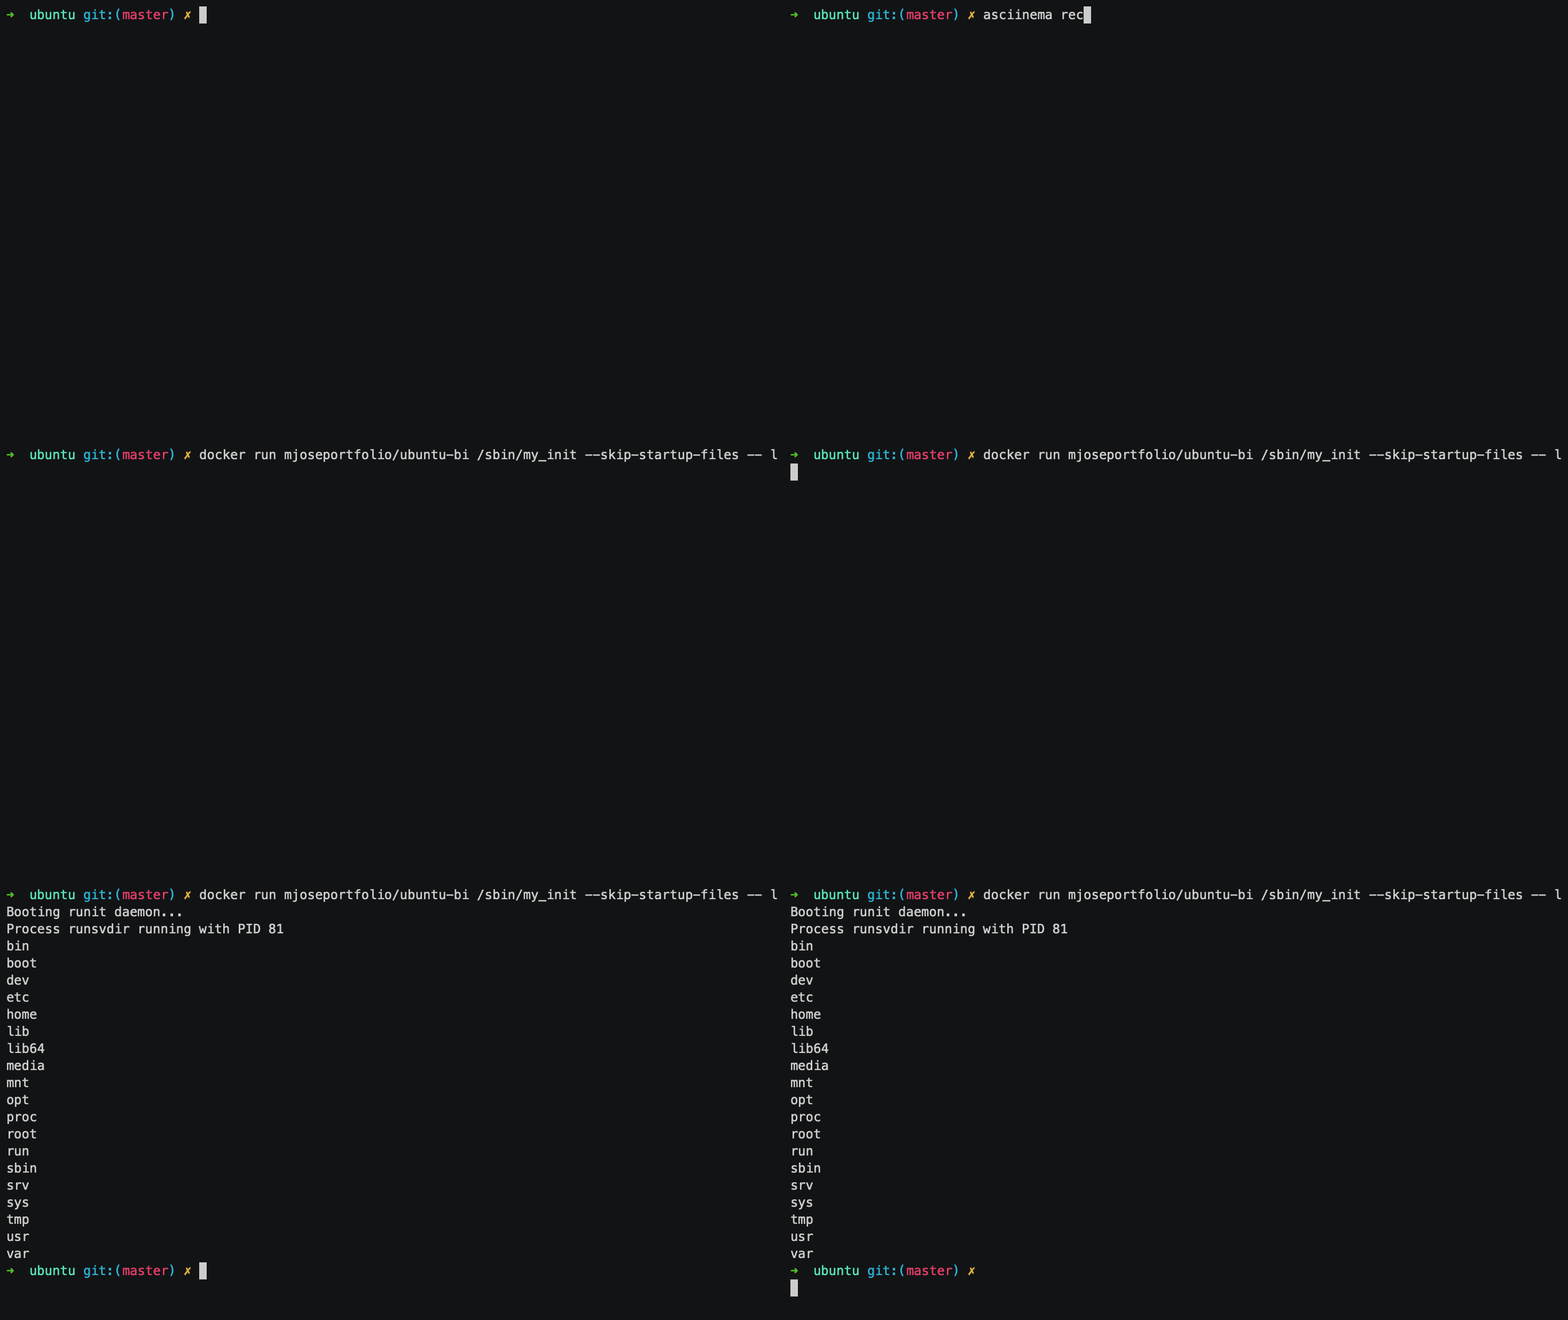
The following example runs ls without running the startup files, while running all runit services:

Running a command in an existing, running container
Running bash shell , or running a command inside it, via 'docker exec'
To run the container's bash shell :
docker exec -it YOUR-CONTAINER-ID /bin/bash
You can lookup YOUR-CONTAINER-ID by running docker ps.
You can also tell it to run a command, and then exit:
docker exec -it YOUR-CONTAINER-ID echo hello world
This image has been adapted from the source code from www.quantumobject.org

